Sewing or simple stitching
Start with a running stitch on fabric and a small goal such as a pouch or bookmark. Demonstrate the movement slowly, then let your child practise on a short length before continuing the piece.
Many families want fewer screens but do not always have the time, supplies, or energy to organise elaborate activities. You do not need perfection. You need a realistic starting point your child can actually finish, pause, and return to.
Below are practical ideas by age and situation, plus a simple framework for choosing what fits your family today. Cozy Crafter Crates appears only as one option at the end, for families who would like supplies and guidance already gathered.

Start with one small project
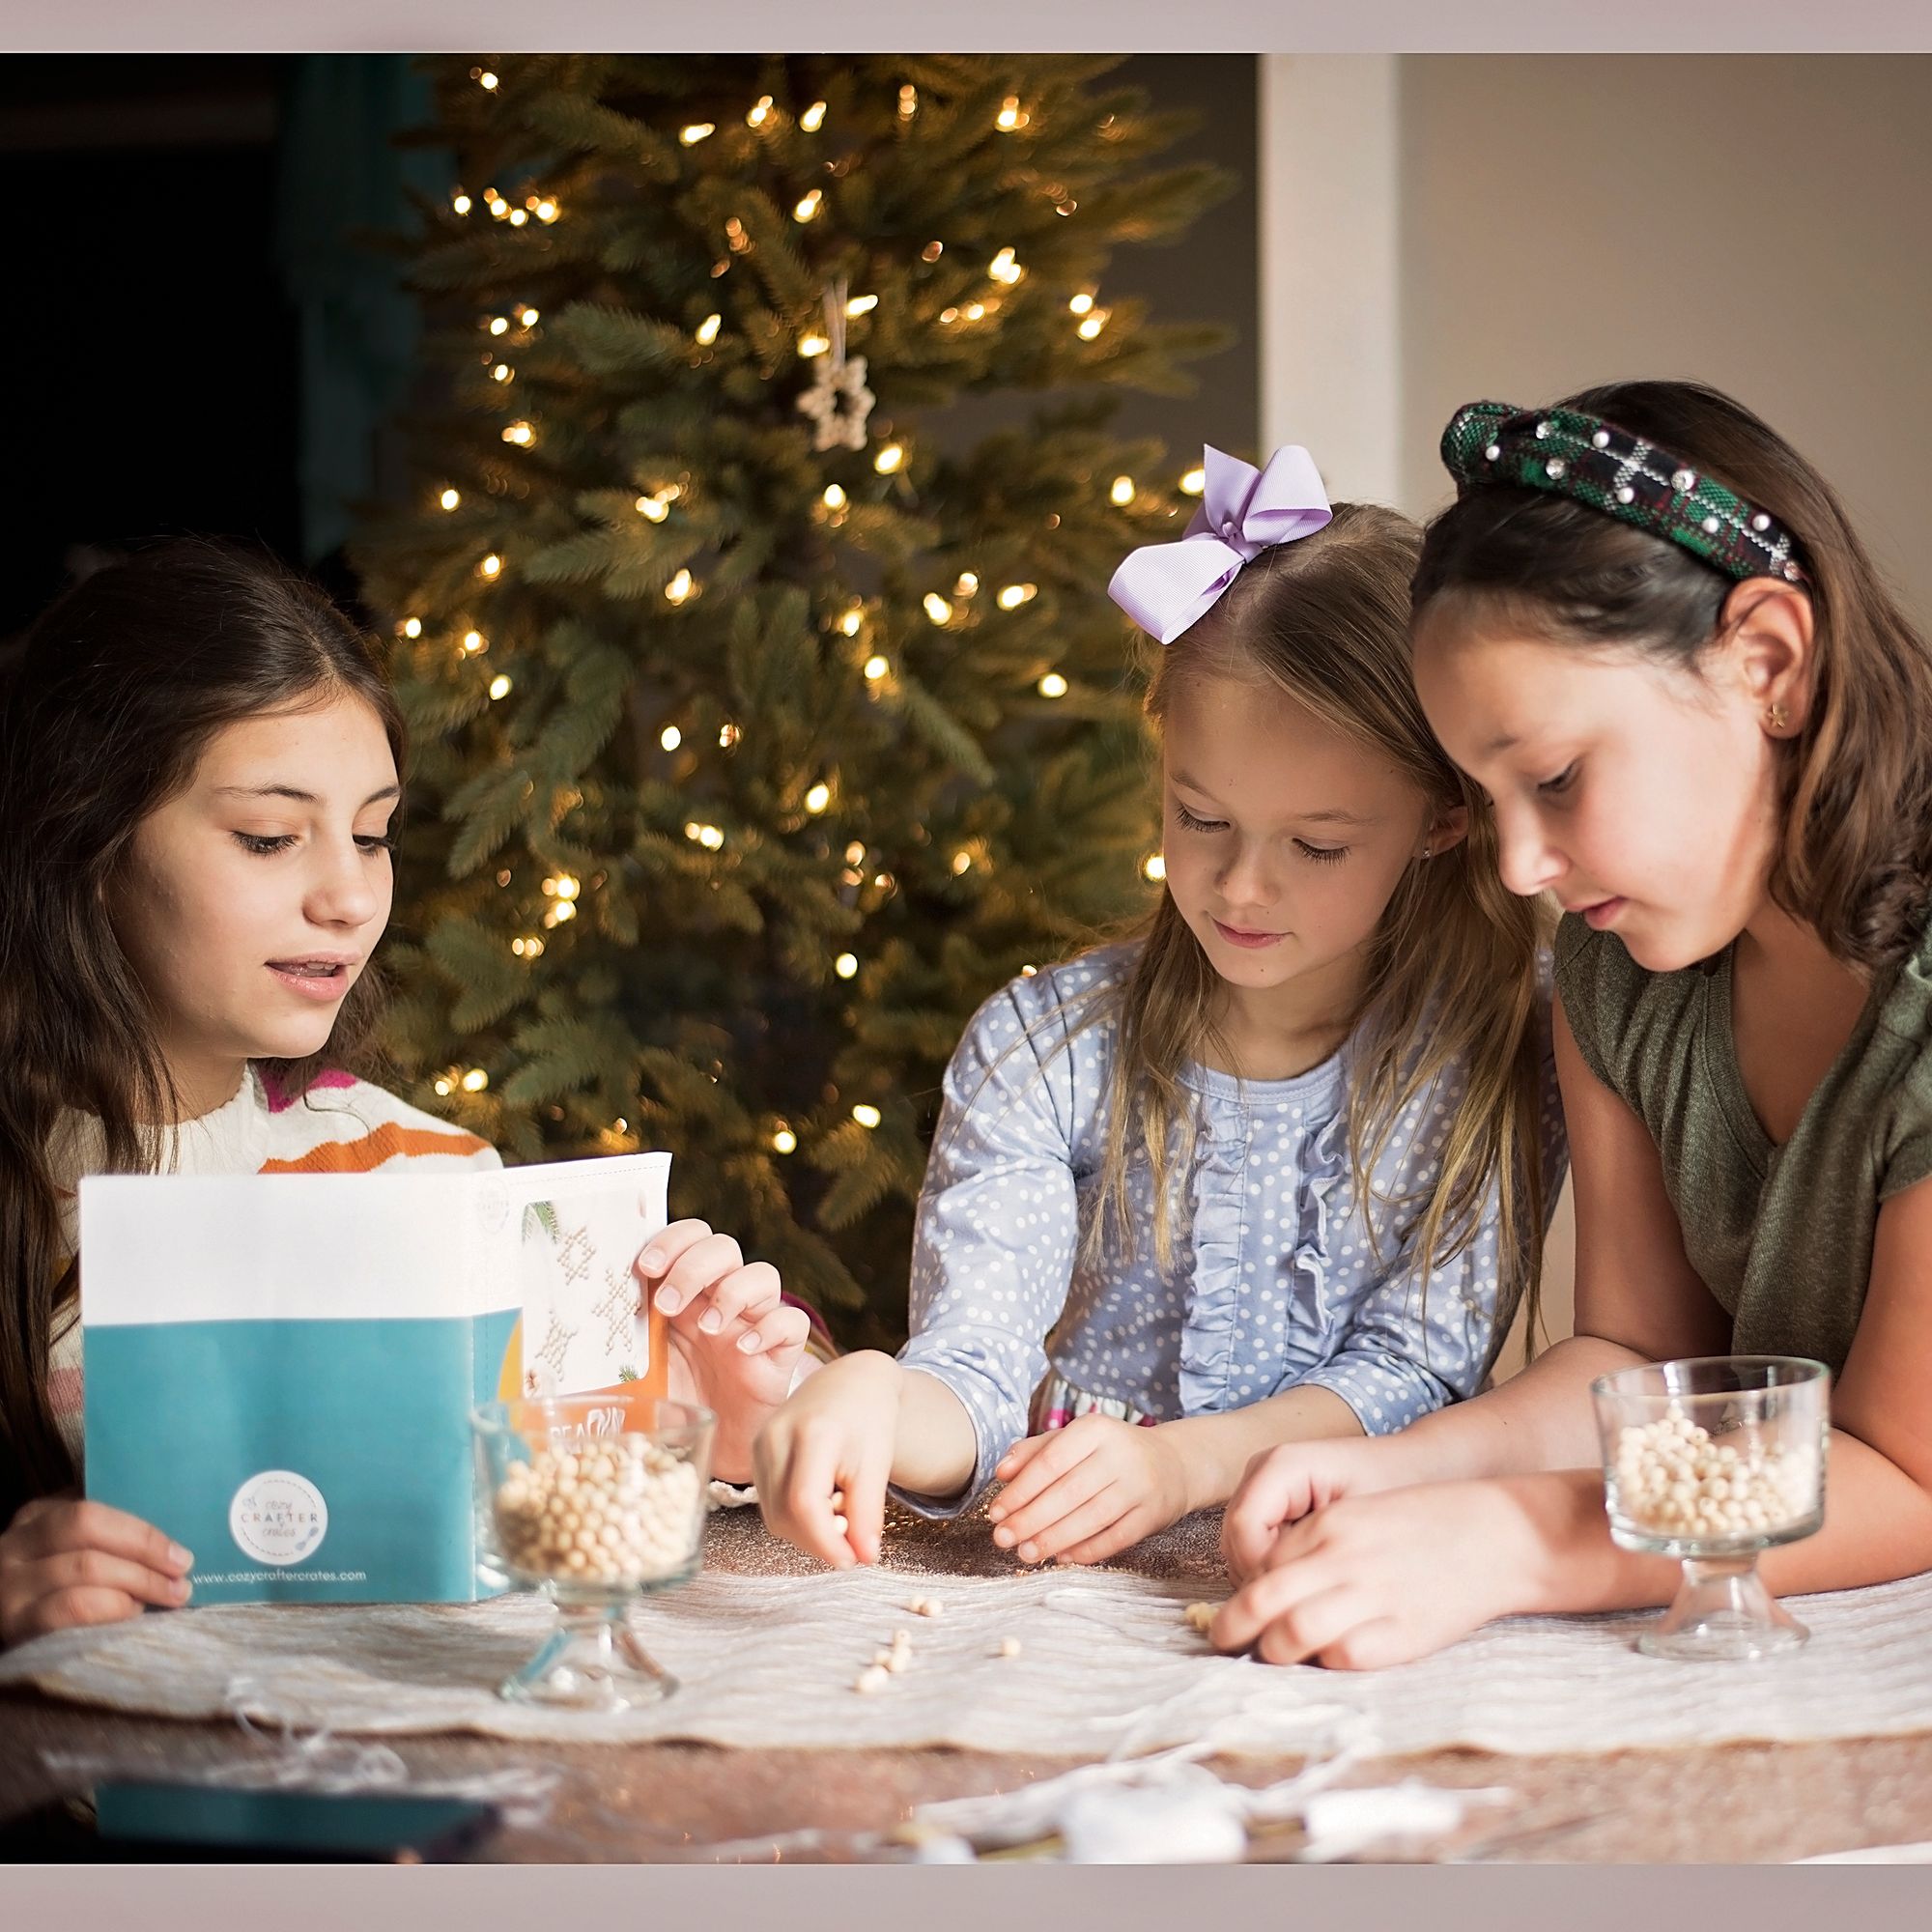
A stitching project with printed photo instructions and materials already at hand.
Good screen-free activities match a child’s age and confidence, give a clear starting point, and can be set up with materials you already have or can prepare quickly. They let children make, move, imagine, build, or help with a real task without needing an adult to entertain continuously. A useful activity fits your available time, leaves room for the child to finish (or pause and resume), and ends with something the child can use, display, give, or simply enjoy having made.
Start with one idea that fits today’s energy and space. A short, finished activity usually works better than a long plan that never gets started.
Want supplies and steps already ready?
Skip the gathering and go straight to making. Choose your kit size and plan below, then start screen-free crafting together.
Hands-on projects with a clear finish, including stitching, weaving, drawing, and building something useful.
Start with a running stitch on fabric and a small goal such as a pouch or bookmark. Demonstrate the movement slowly, then let your child practise on a short length before continuing the piece.
A cardboard loom with yarn is enough for a first woven strip. Show the over-and-under pattern once, then let your child repeat the rows at their own pace.
Set a small brief: draw a bird seen today, illustrate a recipe card, or sketch the same object in different materials. A defined task often holds attention better than open-ended page filling.
A pouch, notebook cover, market bag, or knitted bookmark gives the work a clear finish. Choose one item, gather the exact materials, and work toward that result.
Calmer work your child can follow step by step, with a clear pause point when energy runs low.
A puzzle or model with a picture to match lets a child work steadily without a screen. Keep the workspace clear and plan a storage tray for pieces in progress.
A blanket, basket of books, and a notebook create a quiet corner for reading and drawing. Journaling can record what was observed, tested, or made during the day.
Sort a button or fabric collection by colour or size, press leaves for a nature page, or build a small catalogue of found objects. These give a clear task and a natural pause point.
A project with written steps and photographs lets a child follow a sequence independently. Read through the first steps together, then let your child continue with help nearby.
Shared themes and shared goals, with a role for every child. No identical projects required.
Use one theme for everyone while changing the size, number of steps, or amount of detail. Each child works on their own piece, at a level that suits their age and experience.
Set a shared goal such as a bridge, fort, or tower and give each child a distinct role, such as measuring, joining, decorating, or testing. The finished build is a family result, not a race.
A short list, such as something smooth, something that makes a sound, or something red, gets children moving and observing. Add a bag for collecting and a simple record of what each child found.
Take turns adding one sentence to a shared story, or act out a scene from a favourite book with simple props. No special materials are needed, only a starting prompt and turn-taking.
Movement, making, and a change of space, kept short enough that cleanup stays manageable.
Use cushions, pillows, and taped lines to make a course your child can navigate, repeat, and then redesign. Clear a small area so the course can be set up and taken down quickly.
Build a small fort with blankets and chairs, add books and a torch, and make it a reading destination. The fort itself is the activity; reading gives it a calm finish.
Lay out a small set of materials with a clear next step, such as fabric for stitching, yarn for weaving, or paper for collage. An invitation works when the task is visible and the tools are already out.
Make simple puppets from paper bags or socks, then tell a short story together. Keep the script brief so making stays the main focus.
Purposeful making that sits alongside daily learning, without adding a separate lesson for every activity.
Observe one plant, animal, or weather change and record it with words and sketches. Returning to the same subject across days builds attention more than a single long session.
Set aside a regular time for sewing, weaving, embroidery, or clay work. One manageable technique practised over several sessions is more useful than many brief attempts.
Create a map, timeline, model, or illustrated page linked to what your family is reading or studying. The making helps the child work with the idea, not just about it.
Cook, organise, mend, or build something used in the household. Practical work gives children a real role and a finished result they can see in use.
Homeschool families may also find Homeschool Craft Kits useful for screen-free handwork alongside daily learning.
Use these factors before you begin. Choosing deliberately takes less time than restarting an activity that does not fit the day.
Match the project to the slot you actually have, whether that is 20 minutes or an unhurried afternoon. A small finished piece beats an unfinished large one.
Decide in advance whether you will demonstrate and stay nearby, or whether the child will work from written steps with check-ins.
Count the materials and steps. Fewer, familiar tools mean a quicker start and calmer cleanup.
Choose a workspace and storage plan before you begin. A tray or box for in-progress work makes stopping and resuming easy.
Use age as a starting guide, then adjust for the individual child. Supervision should match the tool and task, not only the age on a label.
A confident crafter may welcome more detail; a beginner may need simpler steps and closer help. Start simple, then add complexity.
Independent work needs a clearer sequence; shared work benefits from one common demonstration and individual tasks. Plan for the choice you need today.
A useful or giftable item gives a natural finish. Open-ended exploration is also valuable. Choose it deliberately rather than drifting into it.
Picked a direction? Bring it to life with a kit
Real materials and written photo steps make it simpler to start and finish. See the plans and pick the size that fits your family.
Age is a guide, not a rule. Consider confidence, experience, and the help you can offer. Start with age, then adjust for the individual child.

Little Learners
ages 4–7
A good fit
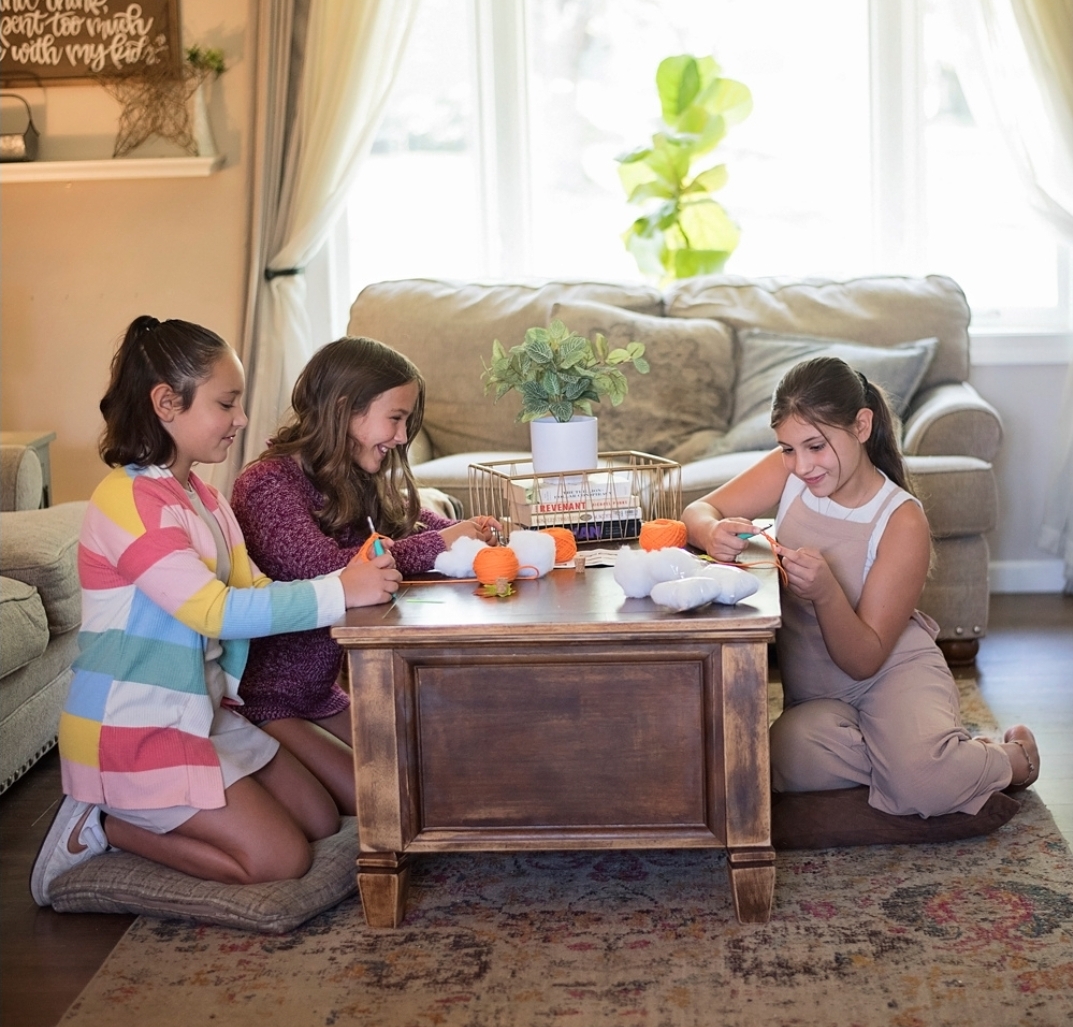
Simple projects with basic skills. Choose large-scale, simple-step activities with close adult help for tools and new techniques.
Mindful Makers
ages 8–11
A good fit
Moderate complexity and techniques. Choose multi-step projects with a clear sequence and room to work carefully for longer sessions.
Confident Crafters
ages 12+
A good fit
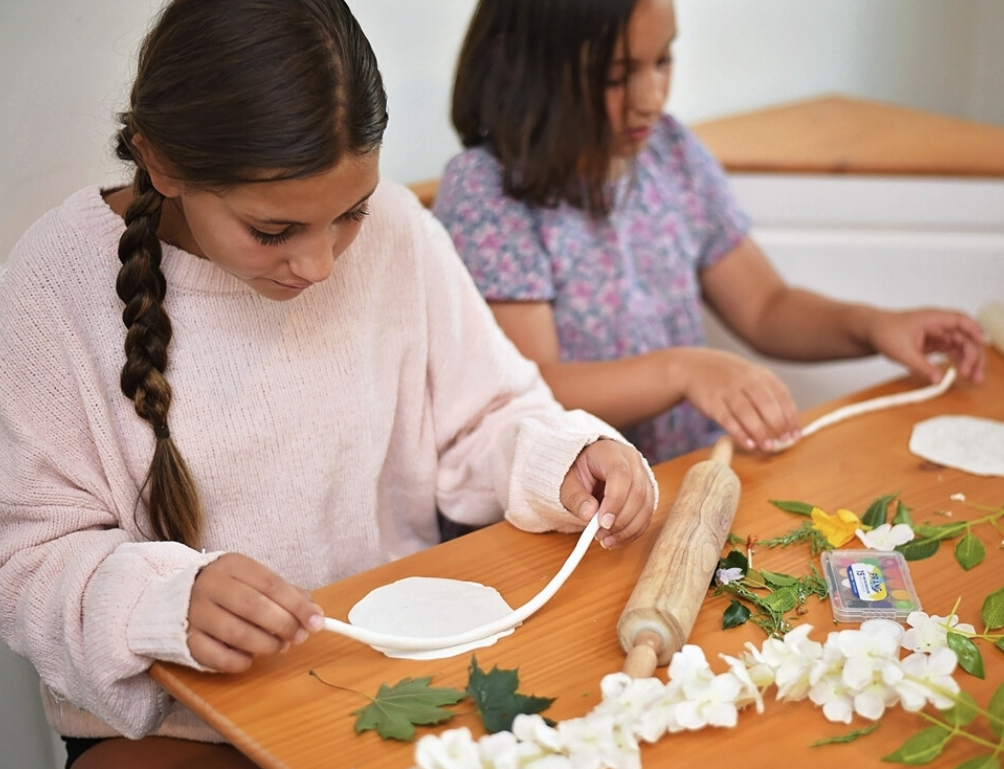
Complex projects with detailed work. Choose detailed work with more technique to practise and greater independence in following instructions.
For the full level comparison and current projects, see What’s Inside. To choose a starting level for each child, use Find Your Fit.
Siblings can share one theme while working at different levels. Keep the theme, material, or skill the same, and change the scale, number of steps, or amount of detail. One child might complete fewer rows, use a simpler pattern, or take a shorter project, while another adds finer work or more steps.
Plan one shared demonstration, then let each child continue at their own pace. Siblings do not need to complete identical projects. Working side by side around the same table is often enough. Use Find Your Fit to choose a level for each child, or browse current projects on What’s Inside.
Make sibling crafting easier each month
One shared theme, with a level chosen separately for each child. Pick your kit size below and the guided setup will follow.
Screen-free making does not require a subscription. You can gather your own materials or use what you already have at home. For families who would like that step handled, Cozy Crafter Crates is one option.
New Craft This Month!
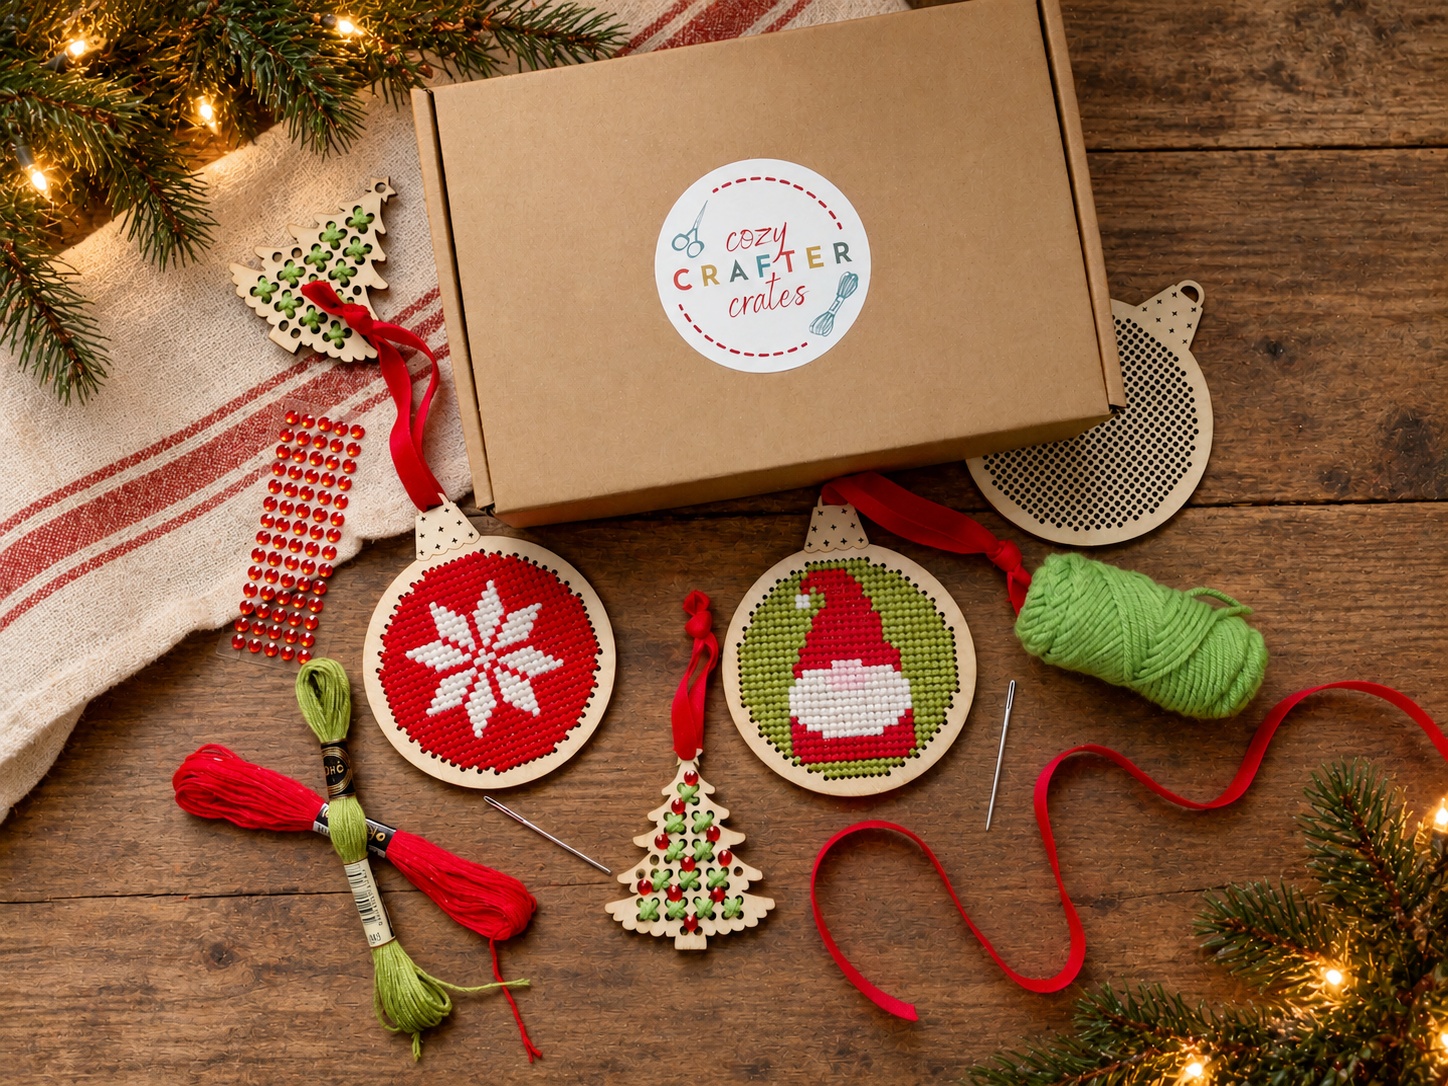
A hands-on craft project with a version for every child’s chosen level.
In the box
Supplies already gathered, a clear monthly project, and three levels for one to four children.
See What’s Inside for current and past projects, or Find Your Fit to explore starting levels.
Screen-free craft kits with supplies and guidance already gathered. Pick the kit size that fits your family, choose how you want to pay, and start creating together.
Monthly Subscription
Monthly themed crafting kits delivered to your door with everything your family needs to create together.
How many children?
Different ages? You'll get to choose a crafting level for each child at the next step.
Select your preferred membership below
Not sure which option is best?
Compare crafting levels for each age, then come back when you’re ready.
Easy activities give a clear starting point, use materials you already have, and can be finished or paused without constant adult direction. Good starting points include weaving on a cardboard loom, a simple stitching project, a building challenge with blocks or boxes, a scavenger hunt with a clear goal, and a guided craft project where each step is written out. Choose one idea, set out the materials beforehand, and keep first attempts short.
Keep a small set of ready-to-use materials in one place, choose projects with a limited number of steps, and plan for a child to work through a sequence independently after a brief demonstration. A caddy with paper, pencils, fabric scraps, yarn, and basic tools is enough for many making activities. Store unfinished work together so your child can resume without starting over.
Siblings can share a theme while working at different levels. A younger child might practice a basic stitch, weave fewer rows, or use larger shapes, while an older child adds detail, follows longer instructions, or completes more steps. Plan one shared demonstration, then give each child a task that matches their current ability. They do not need to complete identical projects to enjoy making side by side.
Indoor activities work best when they involve movement, making, or a change of space. An indoor obstacle course, blanket-fort reading, a craft-table invitation with materials already laid out, a simple puppet activity, baking together, or a family challenge that ends with something made are all good options. Keep them focused and short enough that cleanup stays manageable.
The making itself is screen-free when children use printed instructions and real materials. Some kits include optional video tutorials for showing a technique, which a parent can consult before starting. The hands-on work at the table, including cutting, stitching, weaving, gluing, and assembling, happens away from a screen, and families can choose how much video support to use.
Handicrafts, nature journaling, practical life projects, mapping or timeline activities, and making something connected to a book or historical topic fit well alongside homeschool plans. Keep the work purposeful rather than adding a separate lesson for every activity. A small project you return to across several days often teaches more patience and care than a new activity every afternoon.
Look for an activity with a clear goal, a small number of materials, and steps a child can follow without frequent help. A guided project with written instructions, a sorting or collecting project with a defined end, a puzzle or model with a picture to follow, and a journaling or drawing challenge with a time limit all work well. Start with a shorter version and add complexity only once the first steps feel comfortable.
Shorten the task, leave materials out for a return visit, and build in a stopping point that feels complete. A bookmark, small pouch, woven strip, or illustrated page gives a child something finished to point to, even after one short session. Keep the remainder stored together for another day instead of insisting the whole project be finished at once.
Make screen-free craft time easier
Compare current projects and levels, choose a starting level for each child, then continue through the existing membership journey. Everything is ready when you are.
Not sure where to begin? Find Your Fit first, or browse What’s Inside for current projects.
Ready to start? Choose your kit above. Or prefer ideas with hands-on homeschool in mind? Read Homeschool Craft Kits. Looking to give a kit as a gift? See Craft Gifts for Kids. Making together as siblings? See Family Craft Kits.

